


Adding Artistic Flair to Projects When You Can’t Draw a Stick Figure
Have you ever wondered how applicators achieve some of those really cool designs in their flooring projects? Think you simply can’t match their artistry? In reality, you actually can create those same effects, and it’s not as hard as you might think.
Stenciling
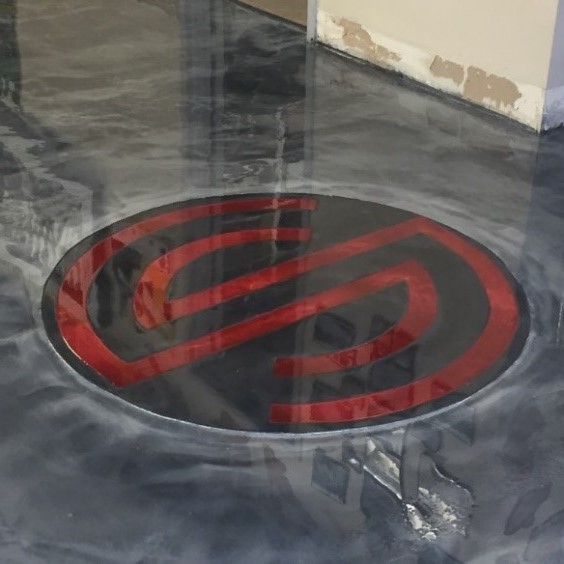
A logo, drawing or even a tile pattern can look crisp and pristine with the use of a stencil. Today, stencils are flexible and diverse, whether you are applying a micro topping or metallic coating. With some stencils, you can even sandblast the design off, remove the coating exposing the concrete, and pour material back into the pattern, as shown in this photo of the red and black symbol. That red was poured back into the blasted depression until the red and black were level.
Logos are among the most common stencils, which can be created from vinyl signs, just like those used for vehicle wraps. Modelo sells great stencils, or sign shops such as Fast Signs or Signs Now.
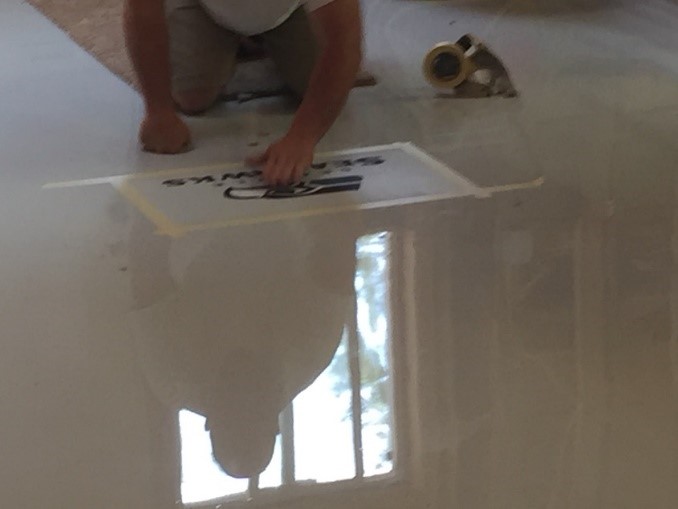
Once a floor is complete – but just before you apply a clear topcoat – you can add a logo with a vinyl sign. I prefer to use a water-based polyurethane since they are least likely to attack the sign material. If you are a little scared about doing this the first time, you can pay the sign company to install it.
Some quick tips when using stencils:
- Measure twice and cut once
- Use lasers to apply the stencil symmetrically
- Lay the stencil on the floor very slowly
- Make sure very few, if any, air bubbles are present
- Do not wrinkle or fold the stencil
- Keep your hands clean
Saw Cutting
Decorative saw cutting, or scoring, is another great way to add a decorative touch to your projects. This is achieved by tracing and cutting a photo or art piece on the floor. Some applicators will use an overhead projector to cast the design on the floor, and then cut it out. More commonly, people will use straight-edge tools or chalk lines to create straight lines or a tile pattern.
Saw cuts cause a break in the substrate, just like tape would stop paint from going out of the lines, basically forcing colors to separate due to the depth of cut. Additional colors can be added by brushing or cutting in the edge. The design can also be taped off and spread.
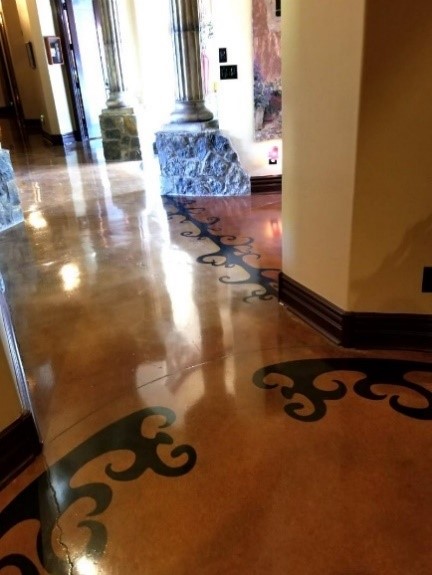
Saw cutting is often used to add decorative borders to flooring projects. Once this is mastered, it’s easier to branch into other design techniques.
With most applications, once you are done saw cutting and coloring, you can apply the first seal coat. Once that has dried, you can come back with sanded tile grout in the saw cuts, and then apply a topcoat over the entire system. Customers tend to love the look when grout is sealed into the floor, plus it’s easier to maintain.
Decorative Concrete Training
Adding decorative features to your flooring projects can raise the value and profit, and truly set you apart from the competition. We offer in-person trainings at our facilities in Phoenix, Arizona and Buda, Texas to help you master stenciling, saw cutting and other decorative techniques.
- Learn more about our trainings, including topics, costs and dates.
- Sign up for our monthly newsletter to get application tips and trends.
- Request a private consultation with a Super-Krete® Products expert to address your project’s specific needs. Call (800) 562-4921.